
Boy, is it good to be back at blogging! It felt very strange these last couple of weeks, skipping posts and missing social media updates. Not only did I feel like a major slacker, but it also seemed like a small piece of myself was missing (it must have been hiding under my bed, along with my motivation). But thankfully, both are back now, and I’m excited to share my best tips for a salon-grade manicure done by none other than yourself. I’ve recently become very interested in nails and upkeeping them regularly, so I have my little routine down to a science. People have even asked where I get my nails done, thinking they are acrylic, but I assure you that they’re au natural! So without further ado, here are my “secrets” (ahem—they’re not so secret) for achieving that perfect manicure.


1. My first tip is to let your nails grow a bit before painting them. I always used to clip them right before applying nail polish, but allowing the nails to get a little longer can elongate your hands and make them more visually appealing. I think the last time I clipped mine was about three weeks ago!
2. If you plan on also painting your toe nails, make sure you remove all your prior nail polish before beginning, including your toes! I can’t tell you how many times I’ve painted my finger nails and then decided to paint my toes as well, only to realize that there is nail polish I now cannot remove without also ruining my new manicure. Rookie mistake.
3. File your nails the day before you plan to paint them. I never used to be much of a filer, but now I like to saw them into a cross between an oval and squoval shape. By filing them the night before, you give your nails a chance to smooth over a bit and get cleaned up (i.e. remove the dust and that weird thick layer that forms at the end) before you actually start painting. I’ve found this makes a huge difference!


4. I always make sure that painting my finger nails is the last thing I do at night. This means that before beginning, I make sure I shower, floss, brush my teeth, get into PJs, and go to the bathroom. For whatever reason, I’ve found that getting my hands wet on the day of painting (even after they’ve dried) almost always results in forming bubbles in the nail polish. I have no idea how or why this happens, but I DO know that I now avoid getting my hands wet after painting, which means finishing my nightly routine beforehand. I also recommend washing your hair before painting—if you’re not a daily hair washer, like me, then this will give you a few extra days without worrying about chipping your nails while scrubbing those locks.
5. When you’re finally ready to begin painting, start with the Sally Hansen Double Duty Base & Top Coat. I never paint my nails without first applying a base coat!


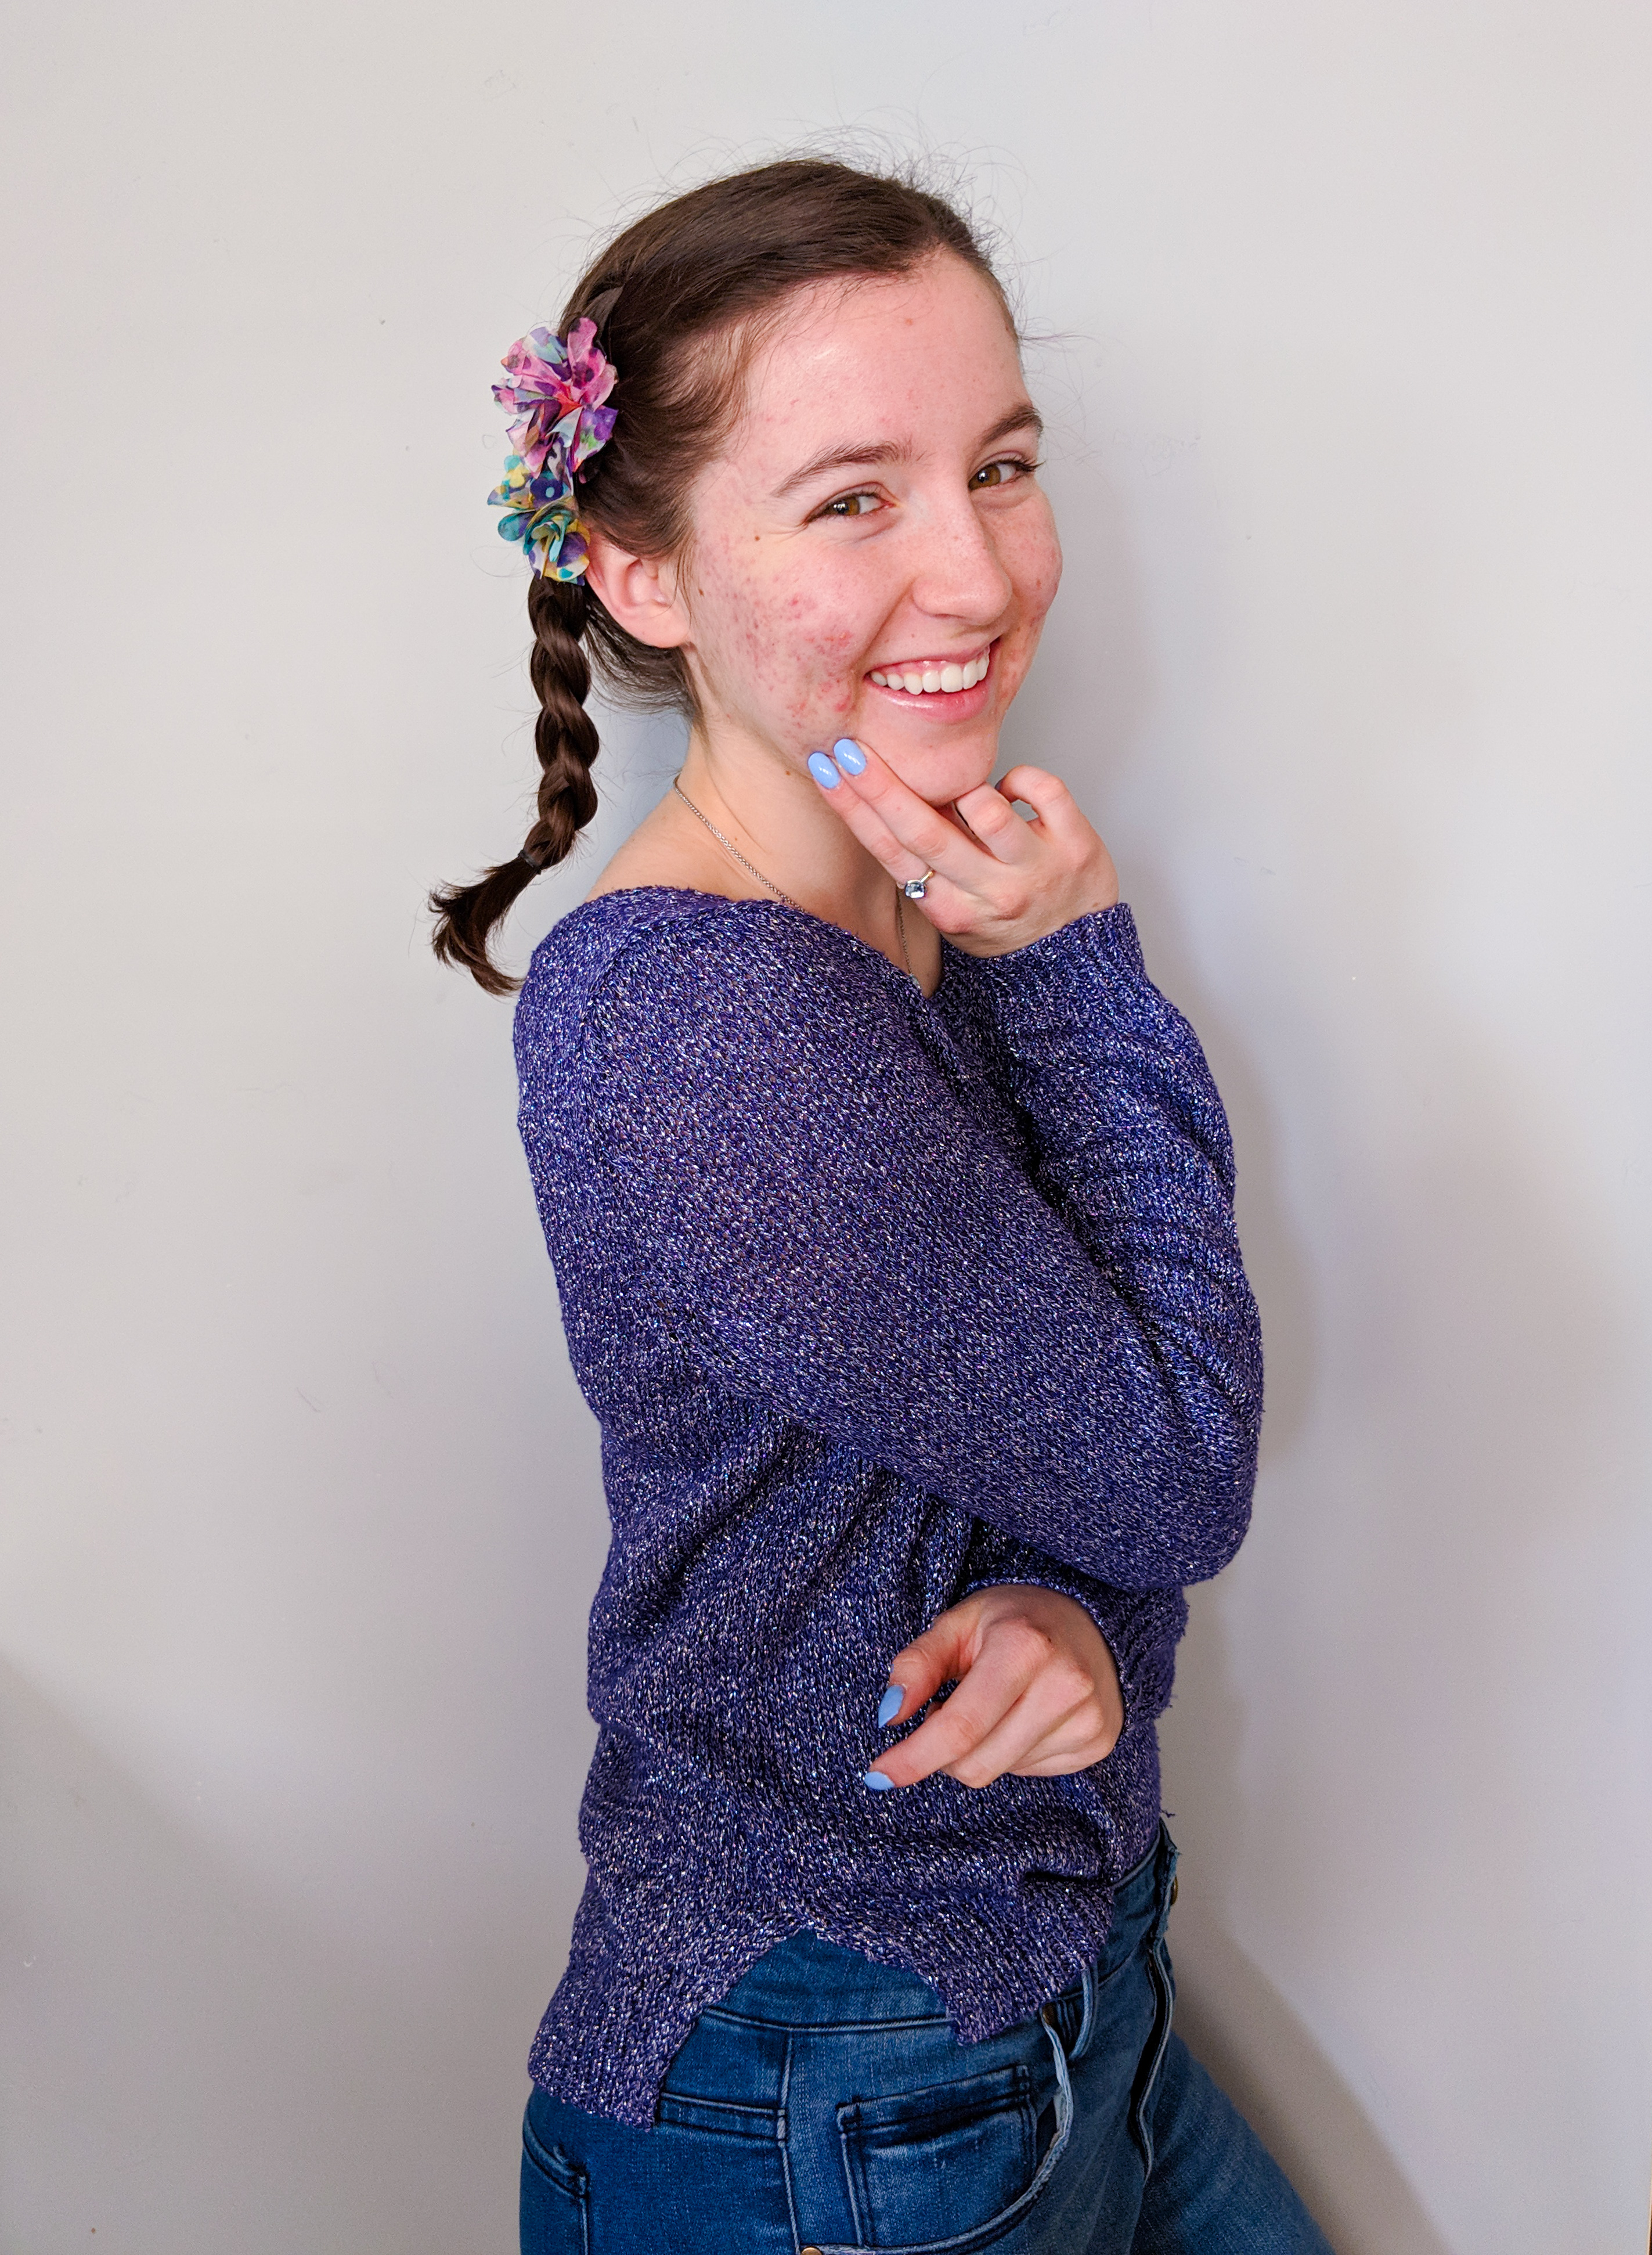
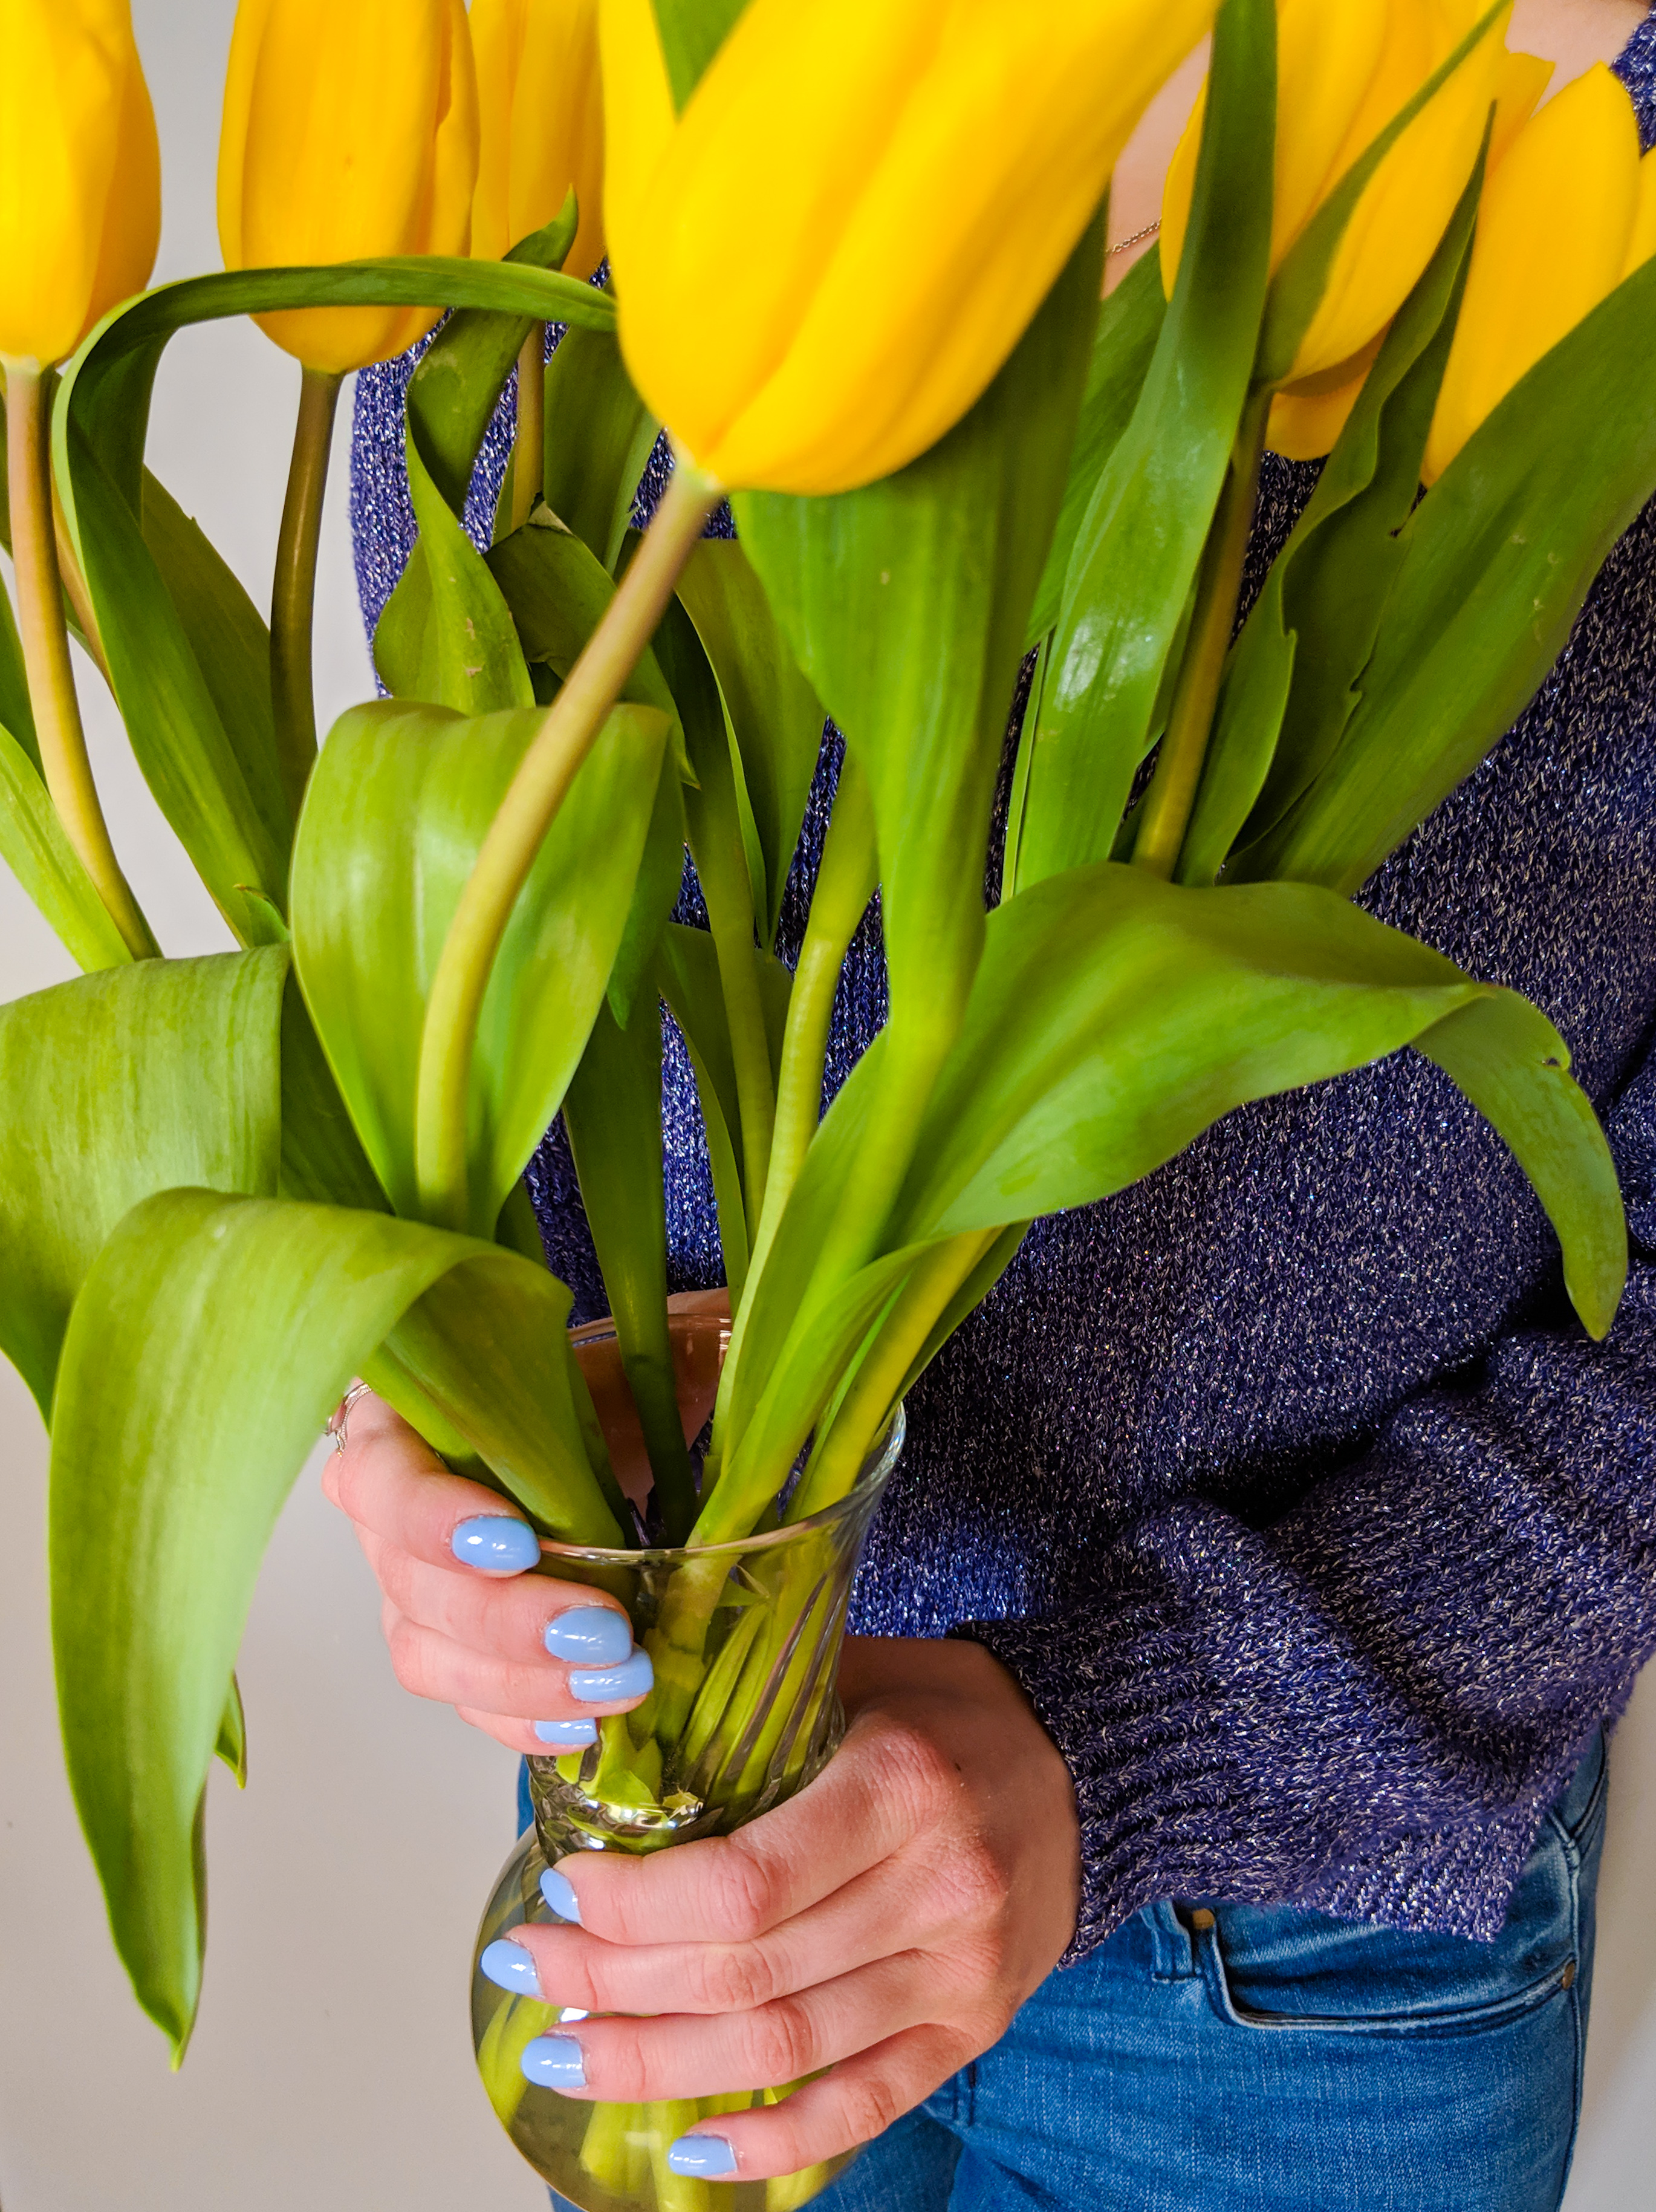
6. Layer on two coats of whatever color you choose. This very pretty pastel shade is called Babe Blue and is perfect for spring! I love the periwinkle color and how it really pops on my fingernails. It is also Sally Hansen—can you tell my favorite nail care brand? And it’s only $3!
7. Make sure you paint the ends of your nails too. This really makes the difference between an amateur manicure and a professional one; without it, your nails look unfinished! Sure, you might get a little paint on your fingertips in the process, but I have a tip for that down below.


8. This is my biggest secret: finish your manicure with a layer of the Double Duty Base & Top Coat AND a layer of the Sally Hansen Insta-Dri Top Coat (seen below). I swear by this combination. Ever since I started using two top coats together, my nails have lasted way longer without chipping. In fact, I usually have to remove the polish simply because my nails have outgrown it, not because it chipped away! A bonus is that the extra top coat makes your nails uber shiny.

9. I usually paint my nails while watching a movie late at night. The quick-drying top coat should help them dry in a relatively timely manner, but your nails will still be susceptible to smudging and creasing for a couple hours after completion. When you finally decide to crawl into bed, just make sure to sleep with your hands above the covers. Then you can wake up with freshly done nails!
10. In the shower the next day, get to town on pealing away that extra paint you may have brushed onto your skin. I think we’ve all noticed how nail polish is way easier to remove on the skin surrounding your toes than it is on the skin surrounding your fingernails, and it just makes no sense! BUT I’ve discovered that the paint peals away quite easily if you do it in the shower, when your skin is hot and wet. Now you don’t have to fret about making mistakes, especially on your right hand when your unstable left hand is in charge (unless, of course, you’re left handed).

11. Finally, here are my most practical tips. Instead of skipping flossing your teeth after painting your nails to avoid chipping (because we all know your dentist wouldn’t approve), opt to use flossers instead. They don’t require fishing your nails around in the back of your mouth, but they still get the job done and keep your mouth minty fresh. I usually ask my hygienist for some flossers as she compiles my goody bag at the end of my dental cleaning. Another practical tip: we all know the struggle that is trying to zip up your pants zipper after getting your nails done. The fix? Carry around a little crochet hook in your pocket! You just pop that sucker into the little hole of your zipper and pull up, never having to worry about chipping a nail.

Do you love painting your nails, or do you prefer just to go to the salon? Either way, I hope these tips were helpful for maintaining your pretty manicures! To read my other post about nail care, click the link below:
Thanks for sticking with me these past few weeks, and have a fantastic Monday!
Miles of smiles,
Grace
Purple Sweater: hand-me-down, from H&M originally // Jeans: Francesca’s, $20 // Sally Hansen Babe Blue Xtreme Wear Nail Polish // Sally Hansen Double Duty Base & Top Coat // Sally Hansen Insta-Dri Top Coat
These photos are great, you’re so pretty and I absolutely love that nail colour for Spring!
Thank you so much!!! You’re too sweet 🙂